
Understanding Garment Shrinkage: A Crucial Step in Garment Manufacturing
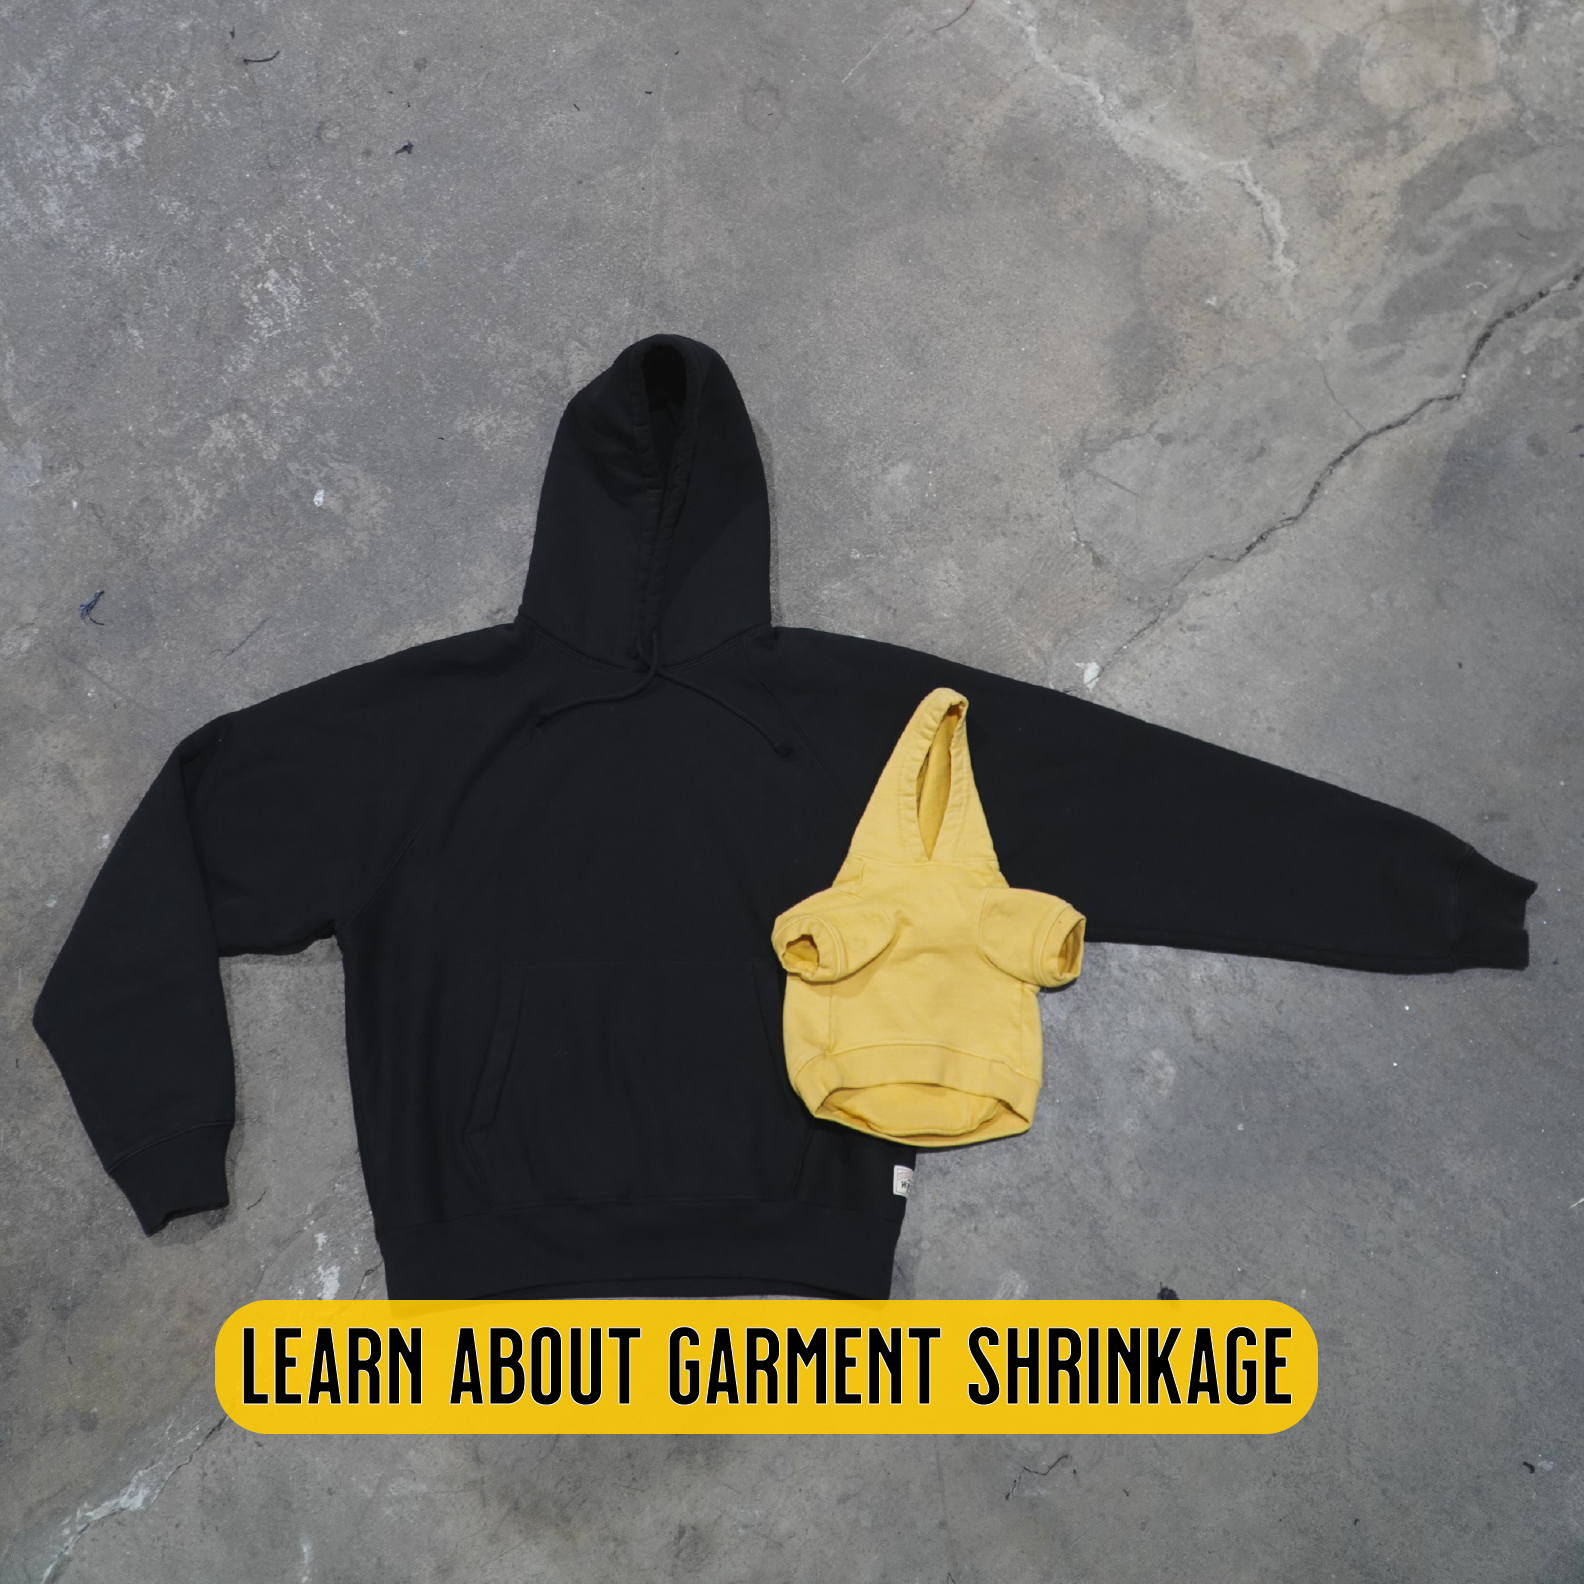
When it comes to garment manufacturing, understanding shrinkage is a fundamental yet often overlooked aspect of producing high-quality, consistent apparel. Every fabric type behaves differently when exposed to various treatments, and recognizing these differences can make or break a garment’s final fit and look.
Why Garment Shrinkage Matters
Shrinkage is an inherent characteristic of fabric. Whether the garment undergoes washing to achieve a specific color, add unique distressing, or enhance its texture, the fabric's behavior in the wash process must be accounted for. Without proper planning, shrinkage can lead to ill-fitting garments, wasted materials, and costly errors.
The Two-Sample Approach
To ensure accurate sizing and maintain design integrity, we use a two-sample process for garments that require wash treatments:
- First Sample – Testing Shrinkage:
The initial sample is sewn using the intended fabric and sent to the dye house for the wash application. This step is critical for observing how the fabric reacts during the treatment. Once the garment undergoes the washing process, we measure it carefully to determine the amount and type of shrinkage that has occurred. - Pattern Adjustment:
Based on the shrinkage data, we adjust the digital pattern file to compensate for the changes in the fabric. These adjustments ensure that the final product retains the intended fit and dimensions after washing. - Second Sample – Final Testing:
With the adjusted pattern, a second sample is sewn and sent for the final wash process. This ensures that the updated pattern aligns perfectly with the expected post-wash dimensions.
The Traditional Method of Testing Shrinkage
The traditional way to test fabric shrinkage is to cut out a 25"x25" piece of fabric, wash it, and then measure how it shrinks afterward. While this method provides some insight, the downside is that fabric on its own may not shrink in the same manner that it would when it is sewn as a garment. That’s why we use the two-sample sewing method to get the most accurate shrinkage information.
What Happens If the Fabric Changes?
Fabric selection plays a pivotal role in the shrinkage process. If a client decides to change the fabric at any point, we must restart the entire process from the beginning. This ensures that the new fabric's unique shrinkage characteristics are accounted for, maintaining the quality and precision of the final product.
Key Takeaways
Understanding and managing garment shrinkage is not just a technical necessity—it’s an essential step in delivering garments that meet the highest standards of quality and consistency. By investing time and care into this process, we can ensure that every piece produced aligns with both client expectations and industry standards.
If you’re planning a garment line and anticipate wash treatments, make sure to discuss shrinkage considerations early on. It’s the small details like these that elevate your product from good to exceptional.
Mastering Proper Garment Measuring: A Key to Flawless Production
Accurate measurements are the foundation of successful garment production. Improper measurements, even by a fraction of an inch, can lead to significant issues in fit, design, and overall quality. That’s why it’s essential for both clients and manufacturers to measure consistently and correctly, ensuring clear communication and precision throughout the production process.
Why Accurate Measuring Matters
In garment production, even the smallest discrepancy can create a cascading effect. For example, a measurement that’s off by just 1/4" will result in a 1/2" difference in the final product. These minor missteps can compromise the fit and aesthetics of the garment, leading to costly revisions or unsatisfactory results.
Key Measuring Tips for Accuracy
To achieve flawless production, follow these critical measuring techniques:
- Walking the Tape on Curved Areas:
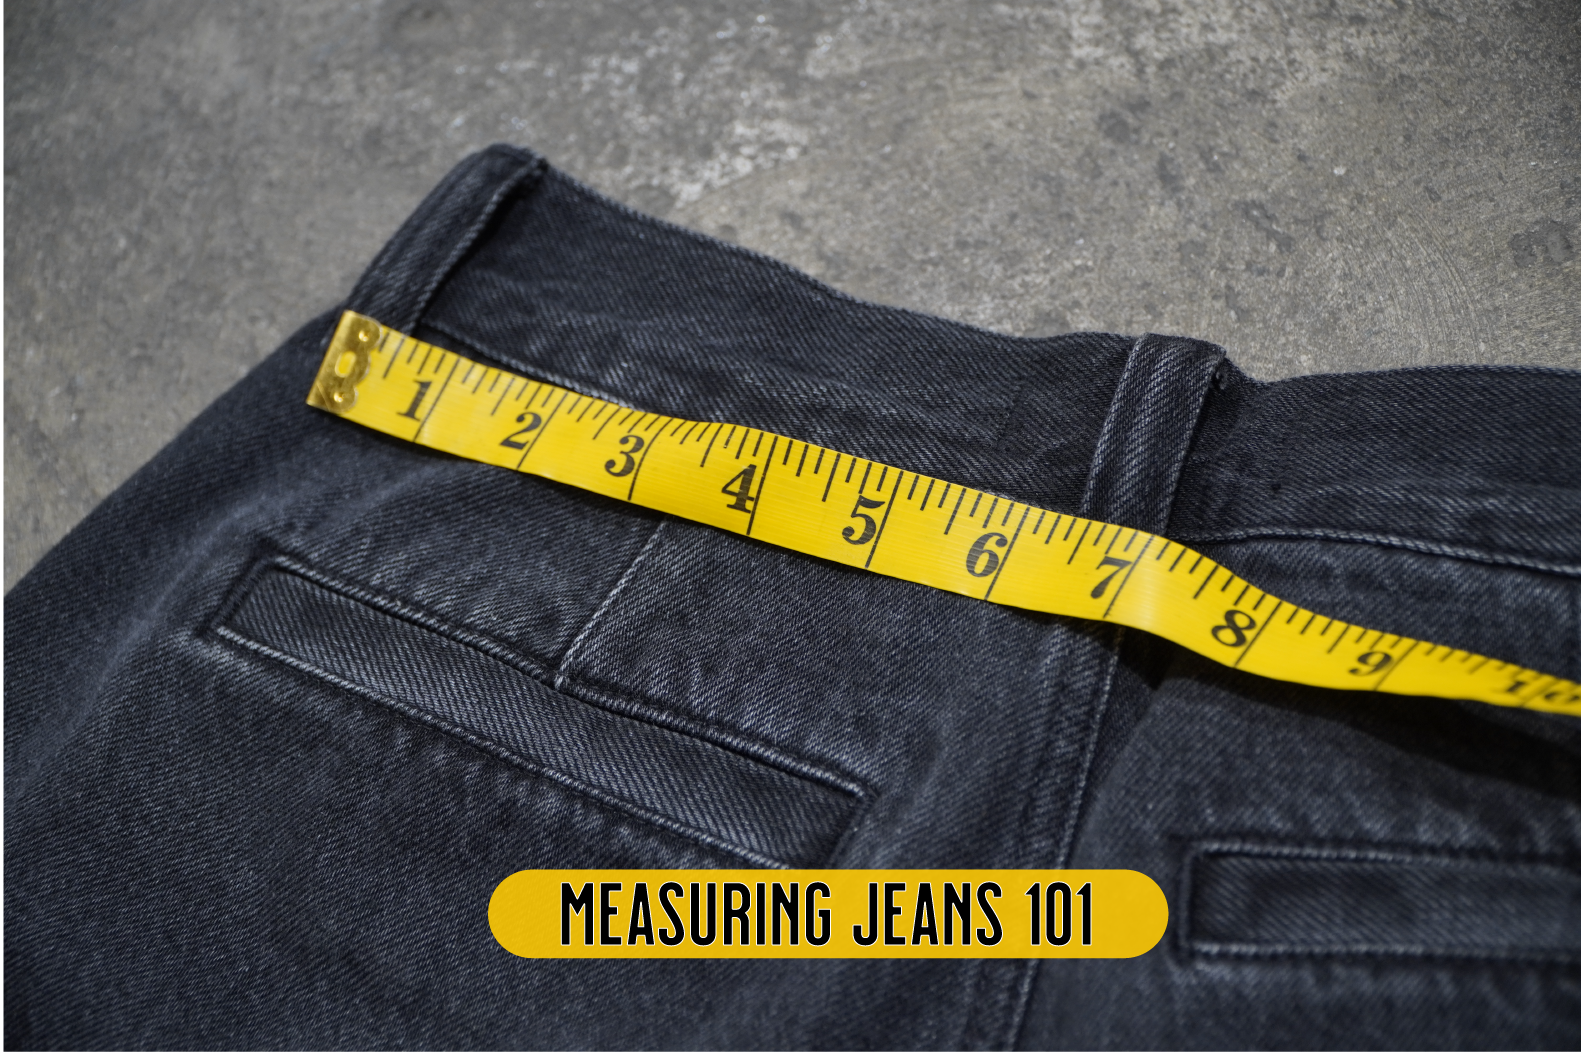
When measuring curved areas like waistbands, avoid the common mistake of measuring straight across. Instead, “walk” your measuring tape along the curve to capture the true measurement. This ensures accuracy and prevents underestimating the dimensions. - Measuring Leg Openings:
For leg openings, it’s vital to lay the seam flat before measuring. This eliminates distortions and ensures the measurement reflects the true opening size. - Consistency Across Teams:
Both the client and manufacturer must use the same measuring methods. Misaligned techniques can result in discrepancies, even if both parties are diligent. Clear instructions and shared guidelines help maintain accuracy.
Supporting Your Process
To help clients and manufacturers get on the same page, we’ve created a comprehensive video guide on proper measuring techniques. This resource demonstrates step-by-step instructions for accurately measuring various garment components. Watch the video here.
The Bottom Line
Accurate measuring is a skill that requires attention to detail and proper technique. By following these tips and ensuring consistency between all parties involved, you can avoid costly errors and produce garments that meet the highest standards.
Proper measuring isn’t just about numbers—it’s about creating garments that fit, function, and look exactly as intended. Take the time to measure correctly, and you’ll see the difference it makes in the final product.
